To clean filter press cloth, safely isolate and depressurize the press, remove the cake, and rinse the cloth using your manufacturer’s approved washing method. This guide also covers stubborn deposits: use a compatible chemical wash when needed, rinse thoroughly, and inspect the cloth before restarting.
| What you find | Cleaning approach | Check before proceeding |
|---|---|---|
| Loose cake and surface solids | Approved plastic scraper, followed by water rinsing | Cloth condition, sealing edges, and drainage openings |
| Particles lodged in the weave | Manufacturer-approved fan-spray washing | Permitted pressure, nozzle, distance, and cloth support |
| Acid-soluble mineral scale | Compatible acid cleaning through an approved circulation or soaking procedure | Deposit chemistry and compatibility of every wetted component |
| Oil, grease, or organic residue | Supplier-selected detergent or alkaline cleaning | Product suitability, temperature, contact time, and rinsing requirements |
| Tears, holes, or permanently distorted fabric | Replacement or an explicitly approved repair | Cause of damage before the press returns to service |
A cloth can look clean and still filter poorly. Fine particles lodge inside the weave, and deposits can block drainage behind the fabric. Check both before deciding that another surface wash will solve the problem.
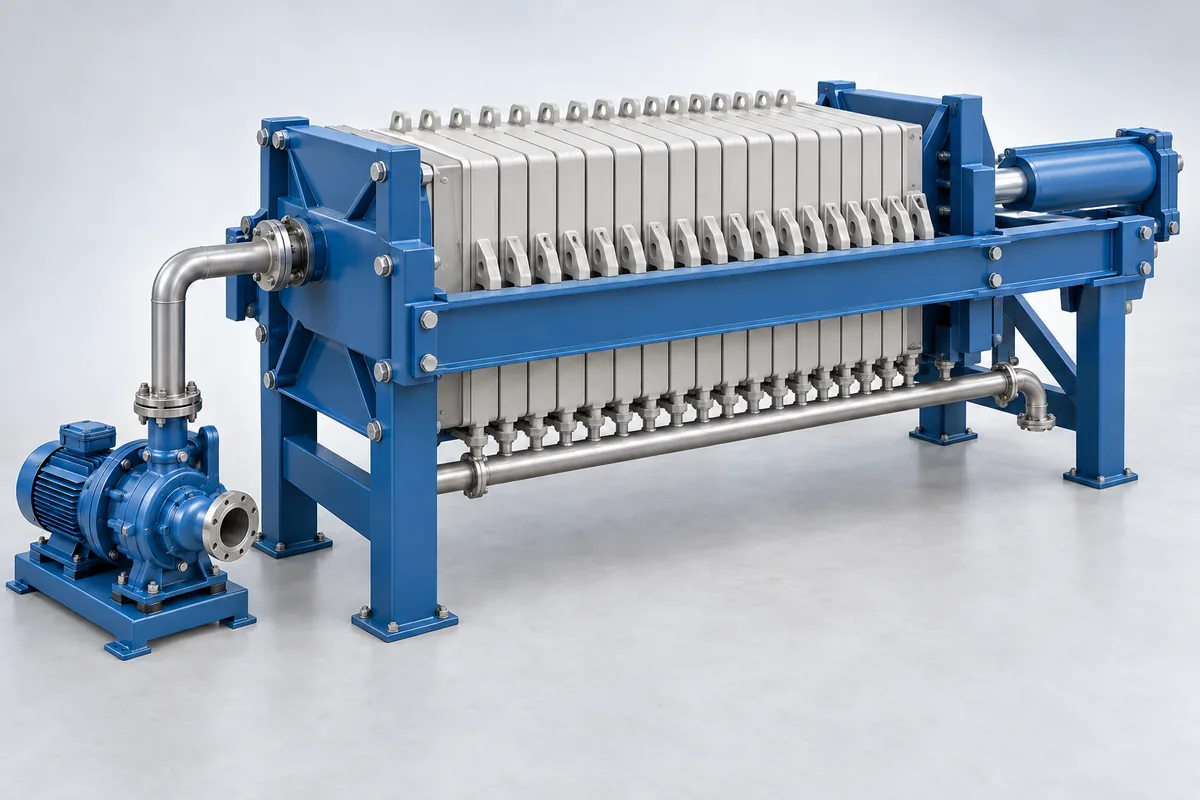
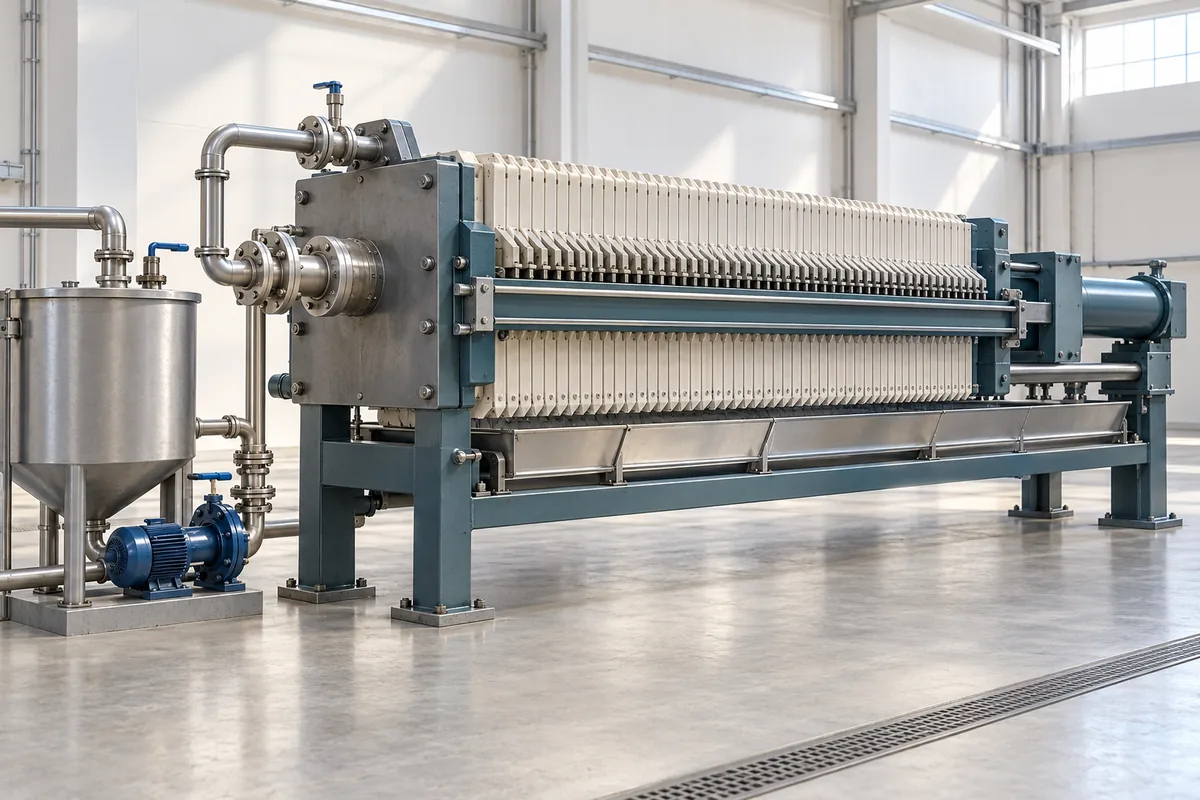
Keep the press operating manual and the care instructions for your cloth beside you when planning the job. If you need to identify the plate arrangement first, our guide to filter press types explains the main configurations.
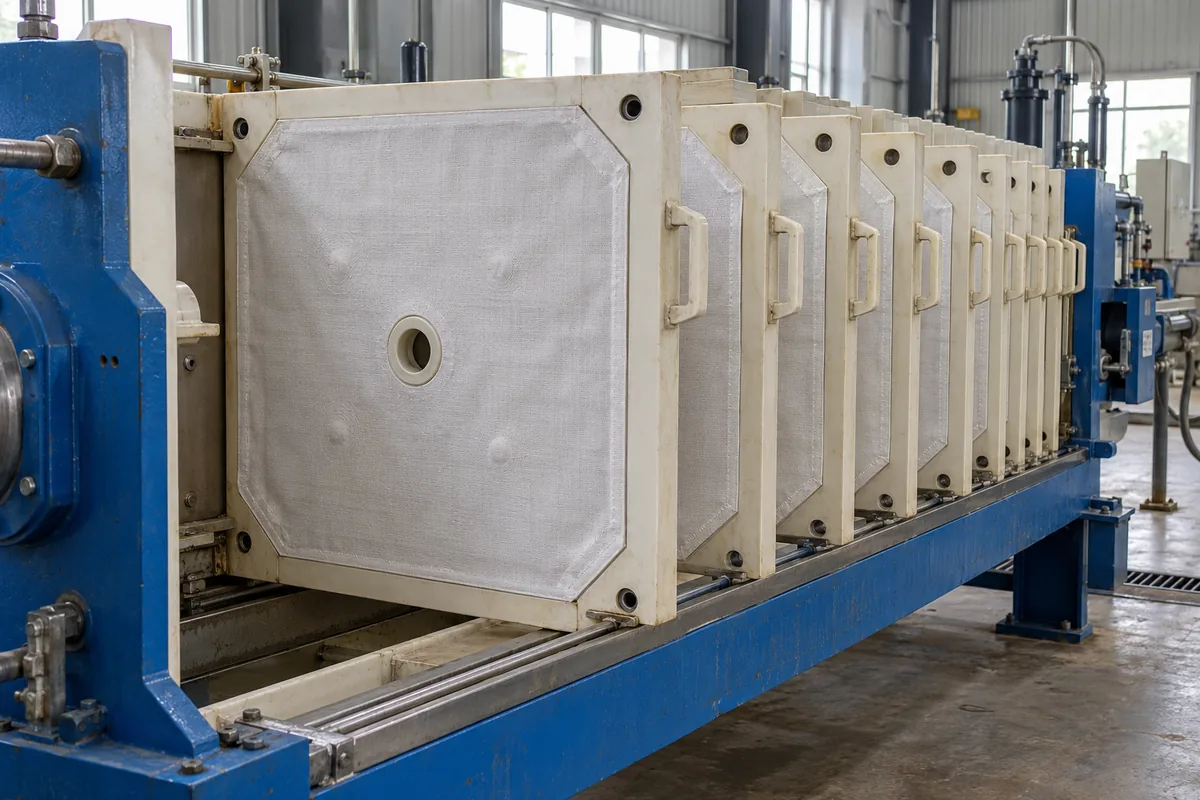
How to Clean Filter Press Cloth
1. Check whether the cloth needs cleaning
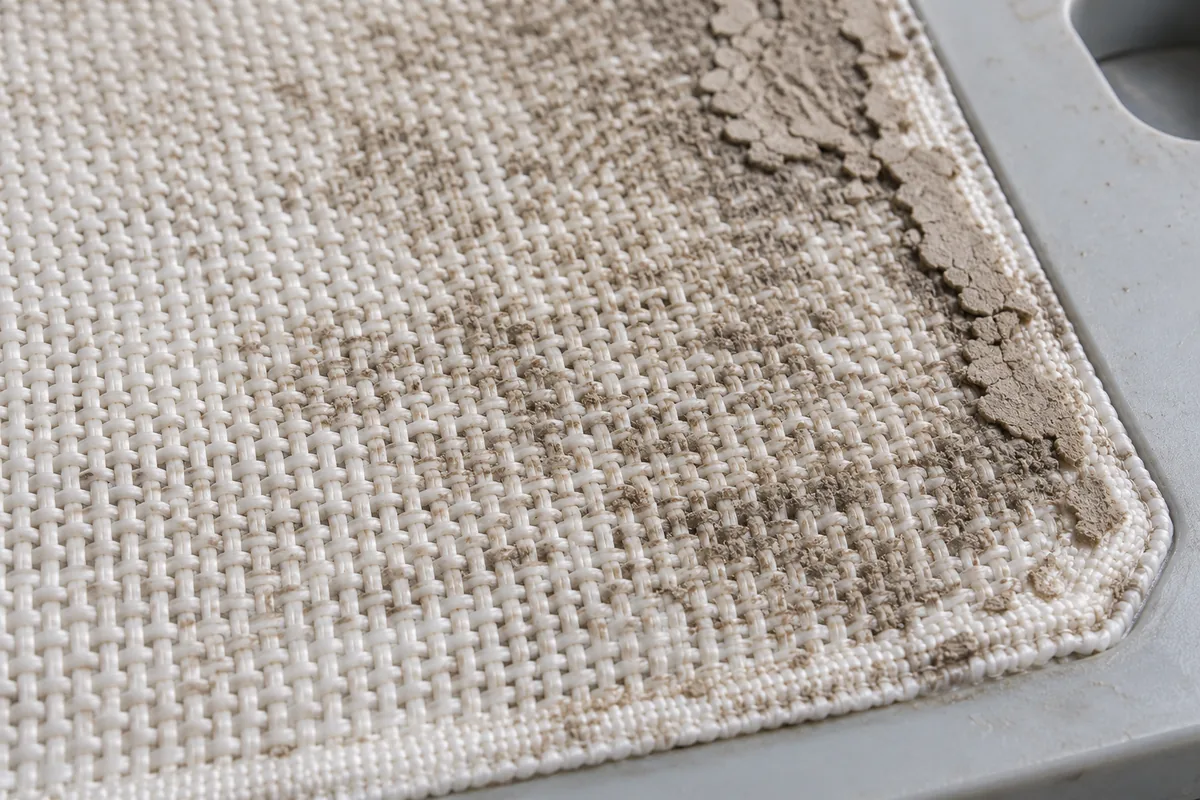
Clean the cloth when buildup restricts flow, interferes with cake release, or contaminates the sealing surfaces. Longer cycles and wetter cakes are useful warning signs, but they also call for a check of the feed and operating conditions.
Look for these changes compared with a healthy cycle:
- Higher initial filtration pressure under comparable feed conditions.
- Longer filling or dewatering times.
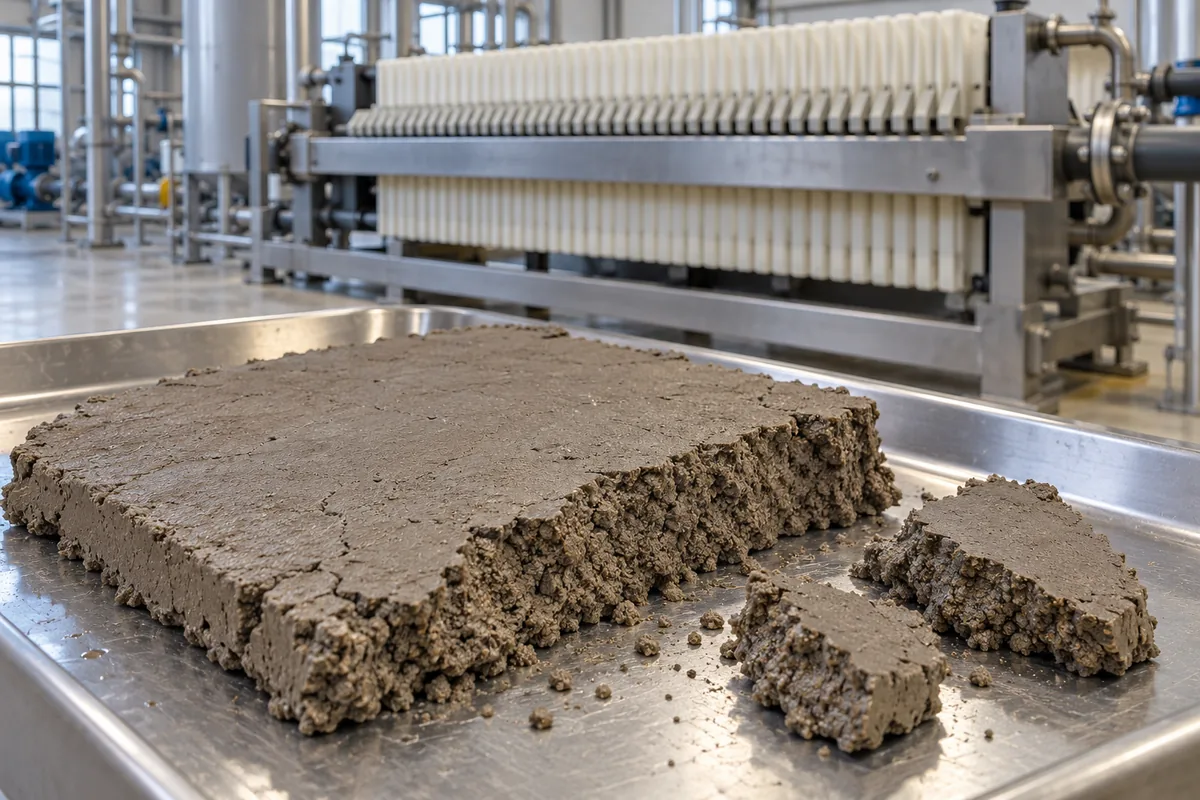
- Wetter, stickier filter cakes.
- Visible deposits around the cloth edges, feed opening, or plate supports.
Met-Chem identifies high initial pressure, long cycles, and wet cakes as indicators of possible cloth plugging.
A change in slurry solids, particle size, temperature, or upstream chemical dosing can produce similar symptoms.
Check the operating log before reaching for a stronger cleaner. If the slowdown started after a process change, washing the cloth may do little to help.
Check the filtrate, too. This is the liquid leaving the press. If it stays cloudy at one outlet, inspect the cloth and seal before running another production cycle.
2. Prepare the press and cleaning area
Make the press safe using its approved shutdown, depressurization, and energy-isolation procedure before opening it or handling cloths. Stored hydraulic, pneumatic, and slurry pressure must be controlled, and plates must be secured against unintended movement.
McLanahan’s cloth maintenance guidance calls for de-energizing and locking out equipment before maintenance. Follow your site’s lockout/tagout procedure and verify that isolation is effective.
For covered U.S. operations, OSHA’s hazardous energy control standard, 29 CFR 1910.147, includes cleaning where unexpected startup or stored energy could injure a worker. It requires hazardous stored energy to be made safe and isolation to be verified before work begins.
Gather the supplies before you start:
- The cloth identification and manufacturer’s cleaning limits.
- An approved plastic or nylon cake-removal tool.
- Suitable rinse water and the specified washing nozzle.
- A soft brush, if the cloth supplier permits brushing.
- Collection containers or drainage connected to an approved waste-treatment route.
- Protective equipment selected for the sludge, spray, and any cleaning chemicals.
For chemical cleaning, read the safety data sheet and confirm ventilation, splash protection, compatible equipment, and emergency washing facilities. Collect the wash liquid; sludge residues and dissolved contaminants can make it unsuitable for direct discharge.
An installed cleaning system may require pumps or controls to operate. That activity needs the manufacturer’s controlled cleaning procedure, with isolation maintained from normal slurry feed and other hazards.
3. Remove the cake and clean the sealing areas
Remove accessible cake with an approved plastic or nylon scraper, then clear deposits from the sealing edges and plate openings. Keep the cloth supported and avoid scraping hard enough to pull or cut the threads.
Remove the large pieces first. A thick layer of cake wastes rinse water and hides damage underneath.
Work systematically across each plate:
- Remove loose cake from the cloth face.
- Clear residue around the feed opening.
- Clean the perimeter sealing area.
- Check the raised plate supports, often called stay bosses.
- Inspect accessible drainage openings for obstruction.
Avoid metal putty knives, wire brushes, and sharp tools unless the equipment supplier explicitly specifies them for the task. A small cut can become a much larger failure once slurry starts flowing through it.
Give the edges the same attention as the cloth face. McLanahan notes that solids around sealing areas and stay bosses can accelerate wear and contribute to slurry blowouts.
4. Wash the cloth while it is supported on the plates
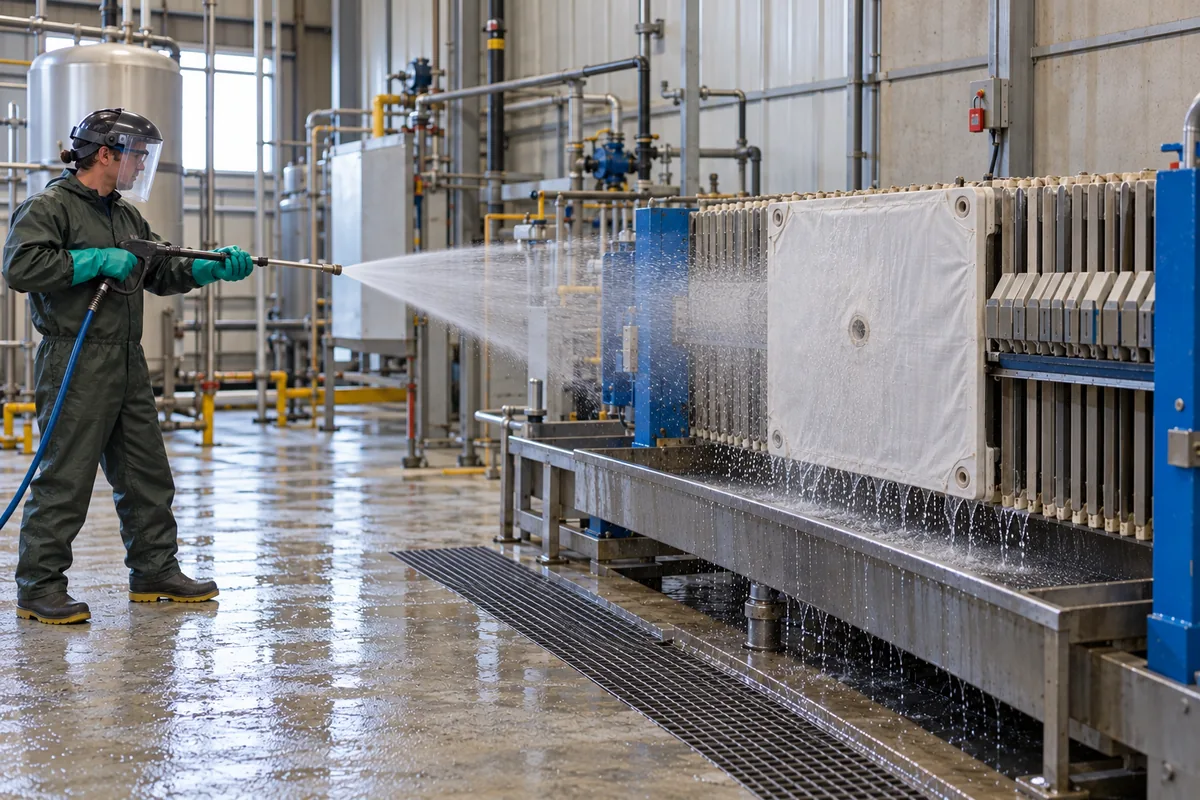
Use water washing to remove loose solids and flush accessible particles from the weave, keeping pressure, nozzle type, and distance within the manufacturer’s limits. Where approved, cleaning on the plates supports the fabric and avoids unnecessary removal.
For manual spraying, the cloth stays attached to its plate while the plate pack is opened to expose the cloth face. Follow the manufacturer’s procedure for positioning and securing the plates after isolation and pressure release. Never loosen or open a press that is still under pressure.
Begin with the least aggressive approved rinse that removes the buildup. If pressure washing is permitted, use the specified fan nozzle and move it steadily across the surface.
The pressure setting is only part of the job. Nozzle pattern, distance, exposure time, and cloth condition all affect how the fabric responds.
For example, M.W. Watermark recommends a fan-shaped spray, a distance of a few feet, and pressure below 1,000 PSI. Those settings apply to the method it describes. Check your own equipment limits before using them.
Check a small area using the approved settings before washing the full cloth. Stop if threads lift, edges fray, or the fabric starts to distort. Never move a powerful jet closer simply because a stain remains visible.
Surface washing may leave deposits in less accessible drainage areas. If flow remains restricted after a proper rinse, investigate the deposit and the drainage path before repeating the same wash at higher pressure.
5. Match the cleaner to the deposit and cloth material
Choose a chemical cleaner only after identifying the fouling and confirming compatibility with the complete cleaning circuit. The cloth, seams, plates, seals, hoses, pump, and tank all need to tolerate the proposed concentration, temperature, and exposure time.
A cleaner that dissolves mineral scale may leave oily residue behind. The fabric matters just as much: a product suitable for one cloth can damage another.
Mineral scale and acid-soluble deposits
An approved acid wash can remove certain mineral deposits, including some lime-related buildup, when water washing cannot restore flow. Confirm that the deposit dissolves in the selected cleaner and that the reaction will not create a hazardous gas or an insoluble residue.
Micronics describes hydrochloric acid, also called muriatic acid, as an option for suitable installations. Its guidance mentions a 5% solution as a possible starting point, while emphasizing that operating conditions differ.
Before using that concentration, have the supplier specify whether the percentage is by mass or volume, the stock strength, final concentration, temperature, and contact time. Put those details in the cleaning procedure.
Micronics also warns against nitric acid and against sulfuric acid, particularly when calcium is present. Sulfuric acid can produce calcium sulfate, or gypsum, which may permanently blind the cloth.
Never combine acid with bleach or unknown cleaning residues. The Washington State Department of Health explains that mixing chlorine bleach with acid releases chlorine gas. Have the process or chemical supplier check possible reactions with retained sludge before introducing a new cleaner.
Oil, grease, and organic fouling
A compatible detergent or alkaline cleaner may be appropriate for oil, grease, and some organic deposits. Ask the cloth and chemical suppliers to select the product based on the actual residue and process requirements.
A sticky cake does not always mean oil. Fine particles, polymer carryover, and changes in feed conditioning can also make cake release harder.
For food or other hygiene-sensitive operations, the cleaning procedure must also address product-contact requirements and any required sanitation. A cloth that looks clean has not necessarily met those requirements.
Polypropylene, polyester, and nylon cloths
Identify the exact fabric before choosing a cleaner because polypropylene, polyester, and nylon do not have identical chemical resistance. Trade names and appearance are insufficient for confirming compatibility.
Micronics notes that polypropylene cloth has broad tolerance for acidic and alkaline cleaning solutions, while nylon and polyester require more careful selection. Even with polypropylene, that general resistance does not approve every concentration or temperature.
Keep the supplier’s compatibility confirmation with the cleaning record so the next shift can use the same conditions.
6. Choose circulation cleaning or off-press soaking
Use clean-in-place cleaning when the press has an approved recirculation system; use off-press soaking when removal and immersion are the supported method. Both approaches need a defined cleaning recipe and a controlled way to collect spent solution.
Clean-in-place cleaning
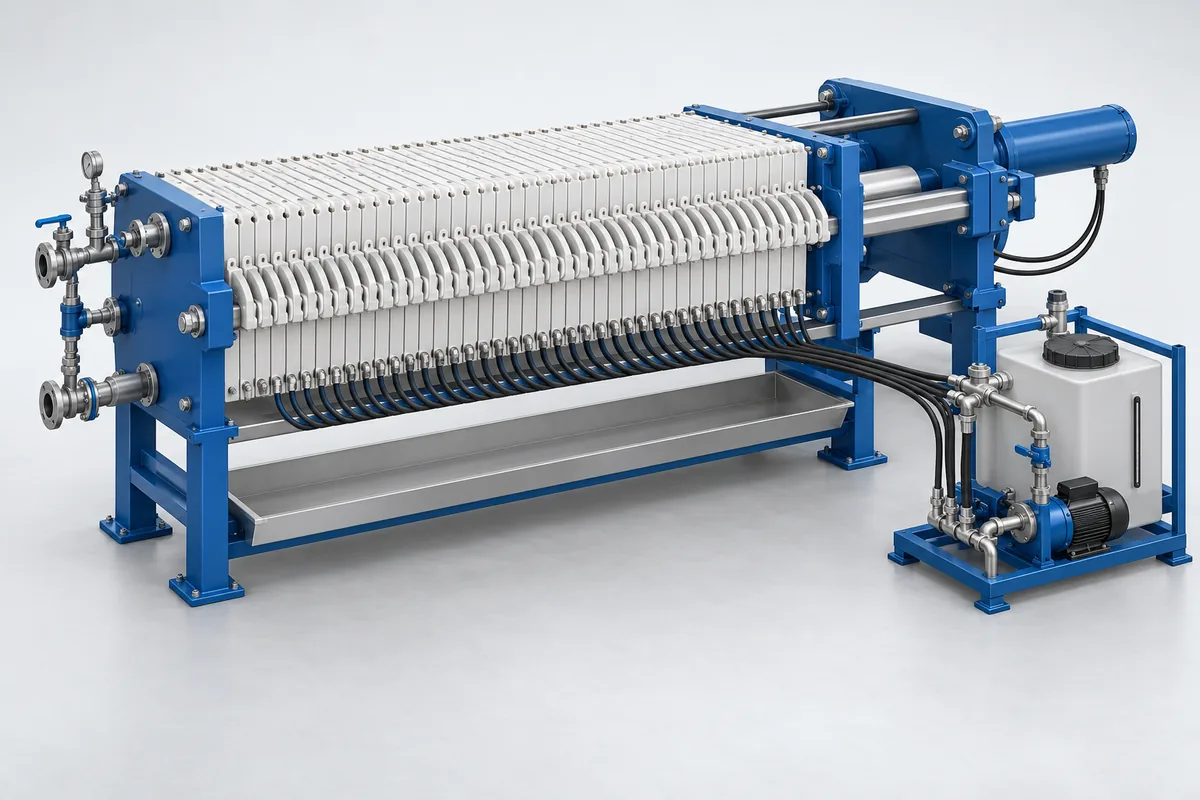
Clean-in-place, or CIP, circulates a compatible solution through the closed press using a purpose-built cleaning circuit. It can reach deposits around filtration ports and drainage areas that surface spraying misses.
Micronics describes a CIP system with a holding tank, pumps, recirculation piping, and valves. The exact flow path and valve sequence depend on the press design.
Follow the equipment-specific procedure for filling, circulation, draining, rinsing, and return to service. Monitor for leaks throughout the wash and stop the cleaning system if containment fails.
Check how the plate edges seal before planning a chemical wash. Met-Chem cautions against acid washing non-gasketed filters unless additional leakage-containment precautions are in place. Our gasketed CGR filter press guide explains the retained cloth edge and gasket arrangement; having gasketed plates still requires a review of the complete cleaning circuit.
Do not improvise a compressed-air purge. Any blowdown step needs the manufacturer’s specified sequence and pressure limits for that installation.
Off-press soaking
Remove and soak cloths only using the approved removal method and chemical procedure. Support the fabric, record its orientation, and avoid dragging it across rough surfaces or sharp edges.
On some center-feed designs, one side of the cloth rolls through the feed opening. Other designs use different attachments. Check the removal instructions if the fabric will not pass through easily.
Use a compatible container and the supplier’s specified bath conditions. Soak time depends on the deposit, weave, and cleaner.
With the cloth removed, inspect the backing cloth and clean the plate drainage surfaces. An obstruction left behind the fabric can keep flow restricted after reassembly.
7. Rinse, inspect, and reinstall the cloth
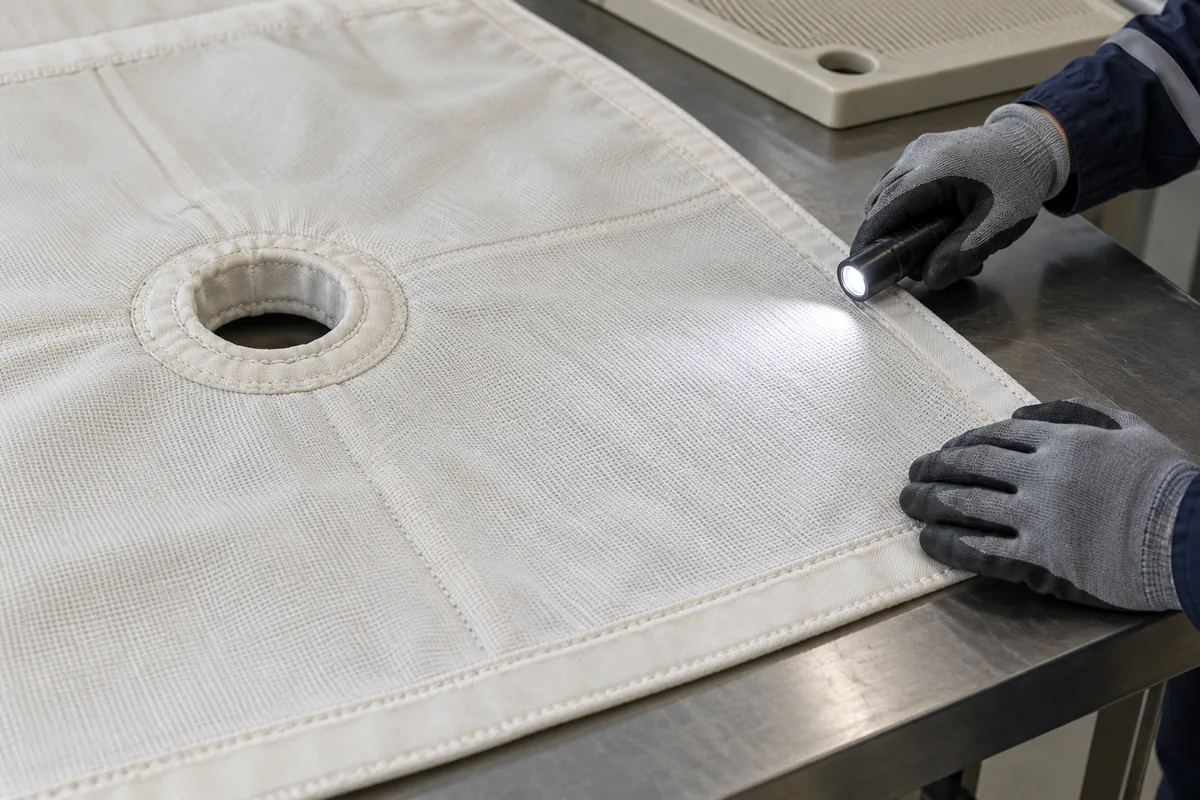
Rinse until the approved procedure’s chemical-residue criteria are met, then inspect the cloth and reinstall it without folds or blocked openings. Clear-looking rinse water alone does not prove that the cleaner has been removed.
Check the procedure for its acceptance limits. Depending on the cleaner and process, you may need to measure pH or conductivity, or use a product-specific residue test.
Any neutralization step also needs a written procedure. Pouring a second chemical onto the cloth to cancel out the first can generate heat or leave deposits behind.
Before reinstalling, check for:
- Holes, cuts, thinning, or frayed fibers.
- Damaged seams or attachments.
- Shrinkage and distorted feed openings.
- Hardened deposits that survived cleaning.
- A dirty or damaged backing cloth.
Align the feed and filtrate openings, secure the attachments, and smooth out wrinkles. Replace damaged cloths or use only a repair explicitly approved for the equipment and application.
Complete drying is not always necessary before immediate reuse. Micronics advises against industrial dryers because shrinkage can misalign synthetic cloths. For storage, follow the supplier’s drying and packing instructions and keep cloths away from heat, sunlight, and contamination.
8. Check whether cleaning restored performance
Verify cleaning by comparing filtration performance with a known healthy baseline under similar operating conditions. Record cycle time, pressure behavior, filtrate clarity, cake moisture, and cake release after the approved restart.
For an illustrative calculation, suppose a press normally completes a comparable cycle in 60 minutes. Fouling pushes that to 90 minutes, and cleaning brings it back to 65 minutes.
The reduction from the dirty condition is about 28%: (90 − 65) ÷ 90 × 100. However, the cycle still takes about 8% longer than the original baseline.
These figures are hypothetical, not measured plant results or a performance promise. Keep both comparisons in your log: the improvement since cleaning and the remaining gap from normal operation.
Take photographs of representative cloth areas before and after cleaning. Pair those photos with the operating data so the next inspection has a useful comparison.
If performance stays poor, check feed changes, blocked drainage channels, pump behavior, and cloth selection. Our filter press maintenance FAQ covers related symptoms, including cloudy filtrate and plate leakage. Repeating a harsher wash before finding the cause can shorten cloth life while leaving the fault unresolved.
How Often Should You Clean Filter Press Cloth?
Set cleaning frequency from the manufacturer’s guidance, visible buildup, and trends in filtration performance. Routine rinsing and deeper chemical cleaning usually need separate triggers.
For its discussed applications, McLanahan recommends at least weekly rinsing and notes that demanding duties may require cleaning after every cycle. It also recommends thorough cleaning before an extended shutdown so deposits do not dry onto the fabric.
Build the schedule around your equipment and operating records. Choose an interval such as monthly chemical cleaning only when the process history or supplier’s instructions support it.
To reduce recurring filter cloth blinding, review the feed-pressure ramp, upstream conditioning, and cloth selection. M.W. Watermark explains that high initial feed pressure can pack solids tightly against the cloth; a controlled pressure increase can help establish a more permeable initial layer.
An approved precoat may help some applications. Confirm suitability before adding one because it changes the process and adds material to the resulting cake.
When Should You Replace the Cloth?
Replace cloth that has holes, severe wear, chemical damage, or permanent distortion, and investigate persistent poor performance after appropriate cleaning. Washing cannot restore missing fibers or reverse shrinkage.
Persistent cloudy filtrate near one plate deserves prompt inspection. McLanahan notes that slurry flowing through a hole can enlarge the damage and harm the plate surface.
If a cloth fails early, photograph the damage and record its location. Wear around the feed neck gives the supplier a different starting point from edge cuts or widespread chemical deterioration when reviewing the fabric, reinforcement, installation, and operating conditions.
For help identifying a replacement, send us the machine model, plate dimensions, and cloth photos. Include the slurry and cleaning conditions so compatibility can be checked.
Frequently Asked Questions
Pressure washing needs approval for the specific cloth and press, and reverse-flow cleaning needs equipment designed for it. Neither method should be added to the maintenance routine without checking those limits.
Can you use a pressure washer on filter press cloth?
Yes, when the cloth and press manufacturers permit it and specify suitable settings. Use the approved nozzle, distance, pressure, and technique; stop if the spray damages the weave.
Can you backwash every filter press?
No. Reverse-flow cleaning is appropriate only where the press, cloth support, and piping are designed for it. Do not reverse connections or apply backpressure based on general filter-cleaning advice.
Does the cloth need to look new after cleaning?
No. Remaining discoloration alone does not establish that the cloth is still blocked. Assess fabric integrity, drainage, filtration performance, and any process-specific cleanliness requirements before deciding on another wash.
Make the Next Cleaning Easier to Repeat
Keep a short record of the cloth type, deposit, approved cleaner, washing settings, inspection findings, and restart results. Update the procedure when those results show a better maintenance interval or reveal a recurring problem.
Record what came off with water, what needed a compatible cleaner, and how the press ran afterward. Those details give the next operator a useful answer to how to clean filter press cloth.